Welcome to our blog hop to support a great cause! There are loads of prizes, so don't forget to comment here on this post (not on YouTube as this is technically a blog hop) if you want to be in the drawings. Also, please take a moment to learn about the Coffee Oasis and how you can help homeless teens. Details below!
Here is the project for today:

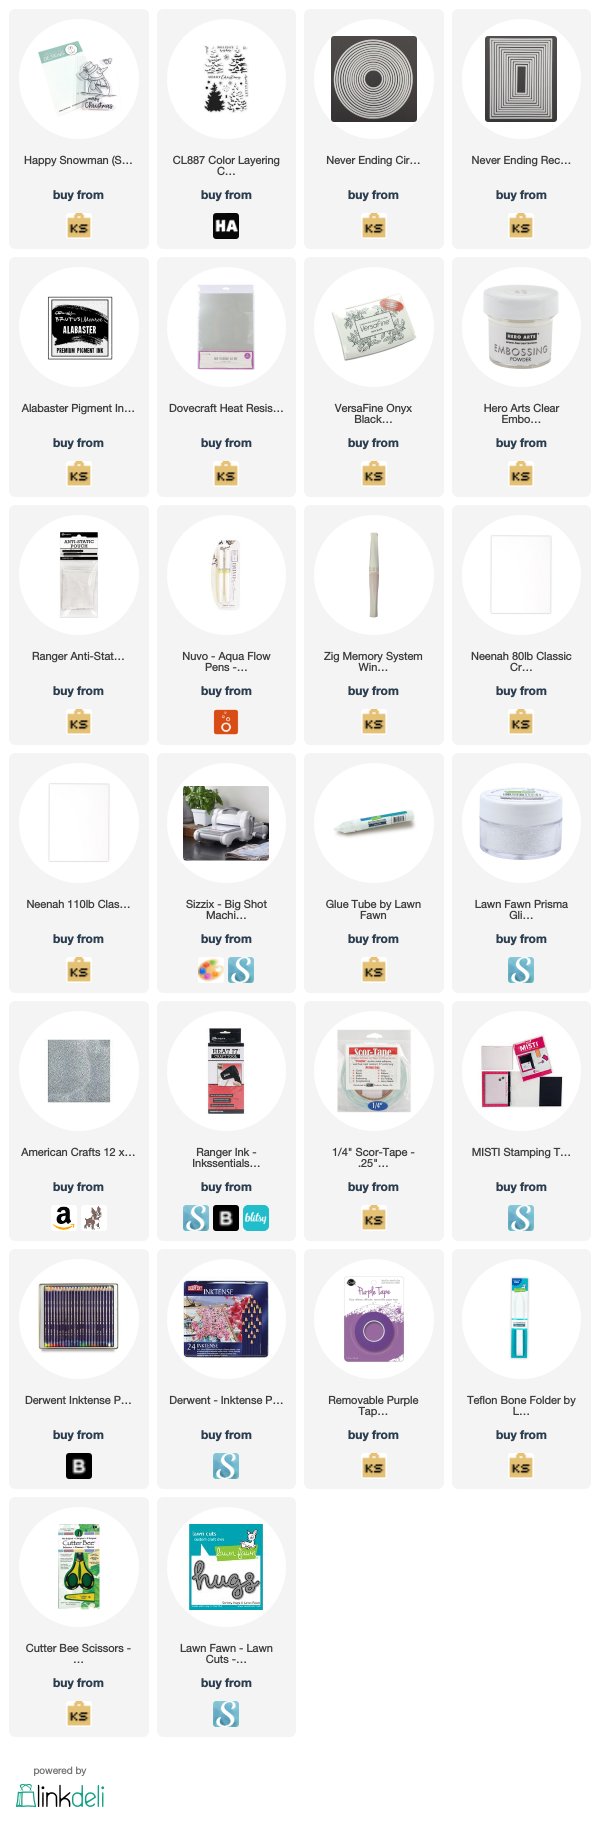
The complete process is on this YouTube link, but abbreviated instructions below:

Coffee Oasis is a coffee shop/organization located in Washington State that provides help for our youth including programs for drug abuse, homelessness, violence and poverty. (You can read more about their programs here: https://thecoffeeoasis.com/youth-programs/. )
We are hoping that this blog hop will bring awareness to organizations such as Coffee Oasis and that we can raise a little money and support for them! Kat Scrappiness has pledged to donate 15% of all sales proceeds to Coffee Oasis and our other sponsors have all donated prizes to give away to all of you blog and youtube hoppers! So please visit them and show some support. You can also donate directly to Coffee Oasis here: http://kskat.com/donate. Even if you can only donate $1 or $5, it doesn't matter. Every little bit will help a kid in need.
To donate directly, click HERE.
(I am donating all of my proceeds for any purchases using my product links below or through the Kat Scrappiness badge on the right margin through 12/10/2018! So shop away!!)
Back to the project!
Directions:
-Die cut 3 white rectangles from heavy weight card (Neenah 110#) and 1 from silver glitter card.
-Die cut 1 heavy weight card circle.
-Have 1 4.25" x 5.5" sheet of heat resistant acetate and 1 of white heavy card the same size.
-Decorate the 4.25" x 5.5" sheet of white card, keeping in mind the size of your circle.
-Lay the acetate over top and decorate if desired, allowing the acetate to overhang the top at least 1/4". Heat set.
-Fold the acetate sheet over the back of the card piece and secure with heavy duty double-sided tape.
-Partial die cut the circle by hanging die a little over the top so it won't cut complete circle. This will be your hinge.
-Attach the rectangles by gluing the top glitter one, then lining up a white one to cover the back.
Line up the back set as well.
-Finish decorating and you are done!
Don't forget to comment below to be entered in a huge drawing! The sponsors are at the bottom of the page. Good Luck!
Prizes being donated by our sponsors:
- A Jillian Vance Design - $25.00 Gift Card
- Art Impressions - Latte Love Stamp Set
- Avery Elle - One Holiday Glass stamp set and one Punny Pantry stamp set
- Brutus Monroe - $25.00 Gift Card
- Cathy Zielske - Free class of winner's choice
- Concord & 9th - $50.00 Gift Card
- Doodles Paper Playground - (1) full size set of the December 6th Release Sparkle Blends sequin mixes
- Gina K Designs - (2) $50.00 Gift Cards
- Gina Marie Designs - $15.00 Gift Card
- Honeybee Stamps - $25.00 Gift Card
- Janes Doodles - $50.00 Gift Card
- Jennifer McGuire - $100 Care Package
- Jessica Lynn Original - One Stamp Set of Winner's Choice! (PLUS 8% of all sales go directly to Coffee Oasis!)
- Joy Clair - $25.00 Gift Card
- Kat Scrappiness - is offering 15% off EVERYTHING IN THE STORE and is donating 15% of all sales during this blog hop to Coffee Oasis! Use coupon code: COFFEEOASIS to save! We are also giving away FOUR gift packages, each valued at $25.00 or MORE! We also have a care package from HERO ARTS to give away!
- Karen Burniston (KB Riley) - (2) sets of the dies used in the video
- Lawn Fawn - $25 Gift Card
- Lindy's Stamp Gang - $25 Gift Card
- Magnuson Custom Stamps - One FREE Custom Made Stamp!
- Neat & Tangled - $15.00 Gift Card
- Newton's Nook - $25.00 Gift Card
- Not2Shabby Shop - Five (5) Coffee First stamp sets.
- Paper Smooches - $25.00 Gift Card
- Precious Remembrance Shop - One (1) Everyday Stamp Set
- Pretty Pink Posh - Three (3) $30.00 Gift Cards
- Rinea - $25.00 Gift Card
- Scor-Pal - Three Gift Packs with products such as the Full Size Scor Pal, Scor-Tape and the Scor-Bug Embosser.
- Scrapping For Less - $15.00 Gift Card
- Technique Tuesday - $20.00 Gift Card
- Trinity Stamps - $30.00 Gift Card
- Whimsy Stamps - Two (2) $25.00 Gift Cards
- White Rose Crafts LLC - Two (2) $25.00 Gift Cards
This is the sign up for bloggers/youtubers who are participating in the Kat Scrappiness Charity Blog Hop to Benefit Coffee Oasis.

The collection has closed. Let other people know about it through twitter.
I'll be back soon with some final holiday cards!
Gale
No comments:
Post a Comment
I love hearing from you! LMK by email if you have problems commenting or following. I am also grateful if you would kindly refer a friend or two! Thanks!